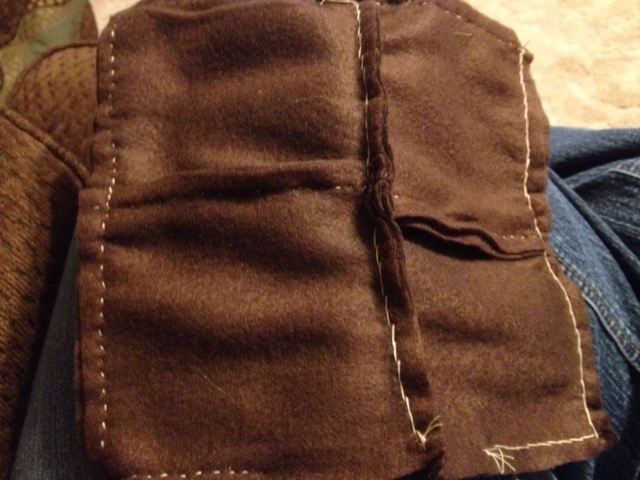
I created this dog bed for our very large German Shepherd, Sasha. It cost $17 to make and took about 3 hours. (It took about another 3 hours to post it on my blog!)
This is Sasha. We adopted her about 2 weeks ago. The lady that had her was very nice but had too many dogs. Sasha lived in an outdoor kennel and slept on hard dirt or the hard bottom of her dog house. No soft blankets or pillows. At some point in her life she was a baby-mamma in a puppy mill operation, so she's had a rough life so far. Later this week she will be spayed. That's right, her baby-making days are over, now she's just going to be a spoiled-rotten fur-child.
So far she has rejected any blanket or towel I've laid down for her to sleep on, but I'm thinking she'll like a little extra cushion when she's recuperating from her surgery. So here we go!
Supplies:
3 yards of fleece fabric
(1 1/2 yards of two coordinating colors if you want the top and bottom of the dog bed to be different).
fiber-fill stuffing or pillow form
scissors or rotary cutter and cutting mat
straight edge or ruler
tape
I went to my local discount store and purchased a brown fleece twin/full sized blanket for $7. My local craft/fabric store was charging a very proud $10+ for their cute patterned fleece, so I sacrified cuteness and went with this more economical brown that matches our living room furniture. If Sasha refuses to lay on it I can always let my son use it as a floor pillow while watching tv.
My first step was to cut off the satin trim on the blanket. If you buy your fabric at the fabric store you can skip this step, but you will still want to square up and trim your fabric so that the top and bottom line up. I also had to cut my blanket in half to get the top and bottom pieces of the bed. If you used two different fabrics you can skip this step.
Sasha is a big dog, so this is a very big bed. In the picture below its folded in half, so that's only half the size of the bed! I pinned the two layers together while I worked with it so that it would stay lined up, if you have a normal size dog and thus a smaller rectangle of fabric this step may not be necessary for you.
I used my straight edge which is 5 inches wide to lay a strip of tape five inches from the edge.
I've seen some tutorials that used masking tape but I used scotch tape, because its what I had and it worked fine.
Before you start cutting the fabric remove any pins from the area you are about to cut. You don't want to knick your rotary blade! That's why I used the tape too - it gives you a visual stopping place, without a sharp edge that can knick your blade.
First you will need to cut the corner squares out. I recommend cutting them out with scissors rather than a rotary cutter. This will ensure that you don't go past the edge of the tape cutting into the area that is going to be cut into strips.
Next you cut 1 inch wide strips that are 5 inches long. You can lay a ruler down and eyeball it or use a straight edge like I did. If your strips aren't exactly 1 inch each it doesn't matter... close enough counts in this game... eyeball the end of each row as you near it so that you don't end up with a super fat or super skinny last strip.
At this point you can pick up the matching strips from the top and the bottom and just double knot them together. That's what most fleece blanket tutorials say to do. I wanted my knots to look neater and more uniform than that, so I looped the two pieces together and tied a knot. The pictures above should give a good demonstration of how I did it.
See... nice even knots... pretty knots... I love order... A place for everything and everything in its place!
Continue tying knots on three of the four sides. After you've stuffed the dog bed you'll tie the fourth side closed.
Look at that - she's huge, she's a horse! Now you see why I had to make such a big dog bed!
I purchased a twin pack of standard pillows from my local discount store for $5. My local craft store was selling bags of fiber-fill stuffing for $3 each so this seemed like a better deal to me. My plan was to rip these babies open and stuff the dog bed with the guts. However, my dear husband brought up a valid point that if she accidentally (or purposely) rips into the fleece the stuffing will be everywhere and the whole bed will be ruined. Instead I decided to stick the intact pillows into the bed so that I can rescue them if the fleece gets mutilated.
I also discovered that I did not estimate the size of this bed accurately so I had to run to the store and buy two more pillows.
Yep! I stuffed all four of those puppies in there.
And knotted the final side closed.
Now all I have left to do is to take pictures of it... there it is!
Oh, and convince Sasha to lay on it...